Section 3: Backend Basics
This page contains instructions to test a backend service wrapping a Python model before deploying it to a Dais app. After completing these steps, you will have tested the server locally on your machine and deployed the server into the Dais platform.
Pre-requisites
In order to build a Python web service in Dais, you should have the following software installed:
- Python 3.10
- Docker
- Postman (optional, for sending HTTP requests)
- A bash terminal (e.g. git bash for Windows)
Step-by-step backend testing instructions
Start the server
- Download the example backend and extract the .zip file.
- In a bash terminal, cd into the extracted directory dais-backend-template-py-master. Feel free to rename the directory for convenience. Build the Docker image and run the Docker container, by entering the following commands (this may download a few hundred megabytes of data):
cp .env.example .env
docker-compose up --build -d
If the Docker image was built successfully, you should see something like this:

- You can check whether the server is running successfully inside a Docker container with the following command:
docker-compose ps
- If our server is running successfully, we should see something like this:

- To see model logs in the terminal, run the following command
docker logs --follow dais-backend-template-py_model-service_1
Talk to the server
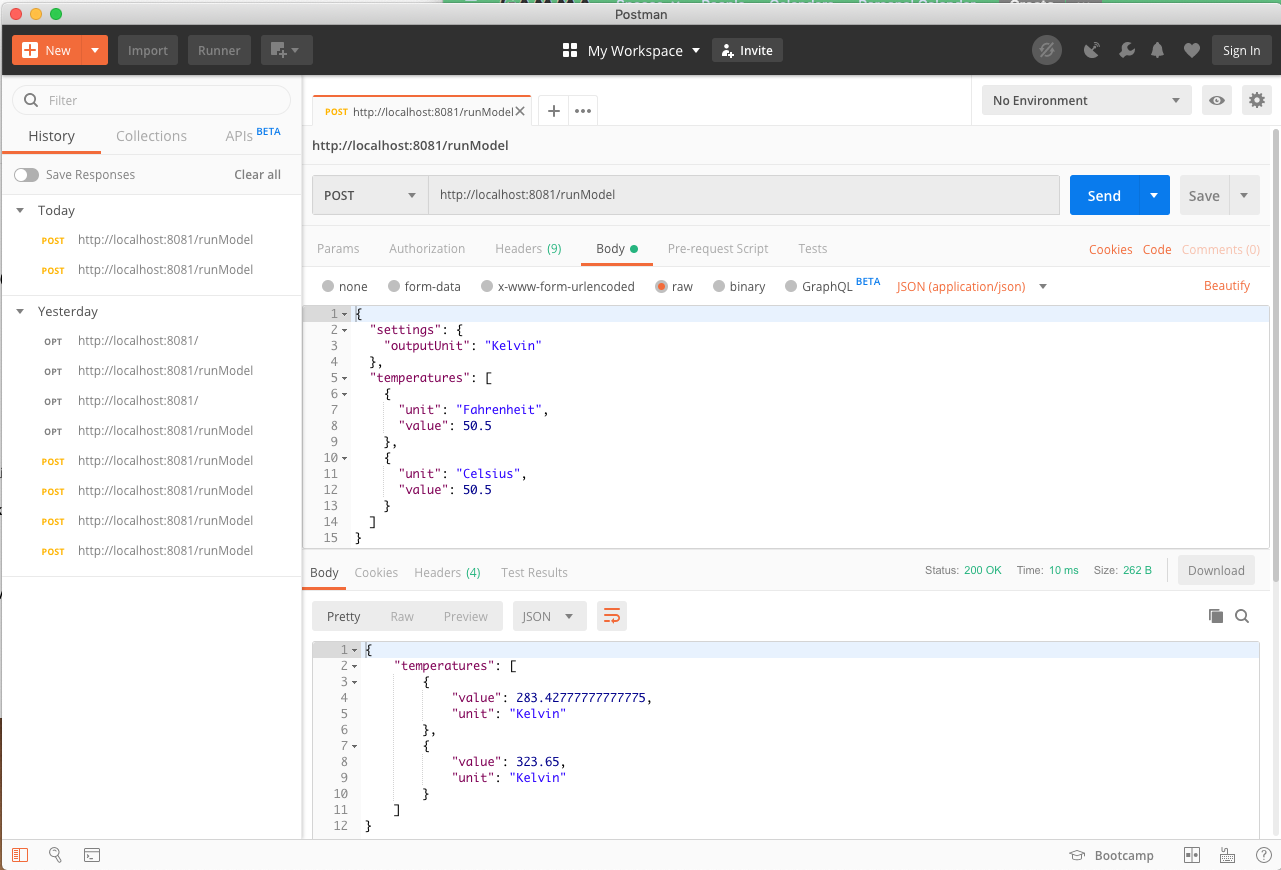
The server that we created receives JSON data via the HTTP POST method and sends JSON back. In particular, it expects to receive a JSON object describing a list of temperatures and a temperature unit to convert all of them to. It returns a JSON object with the converted temperatures.
To see this in action, open Postman. It will show a SignUp window, insisting that you sign in, but you can close it. You should arrive at the following screen:
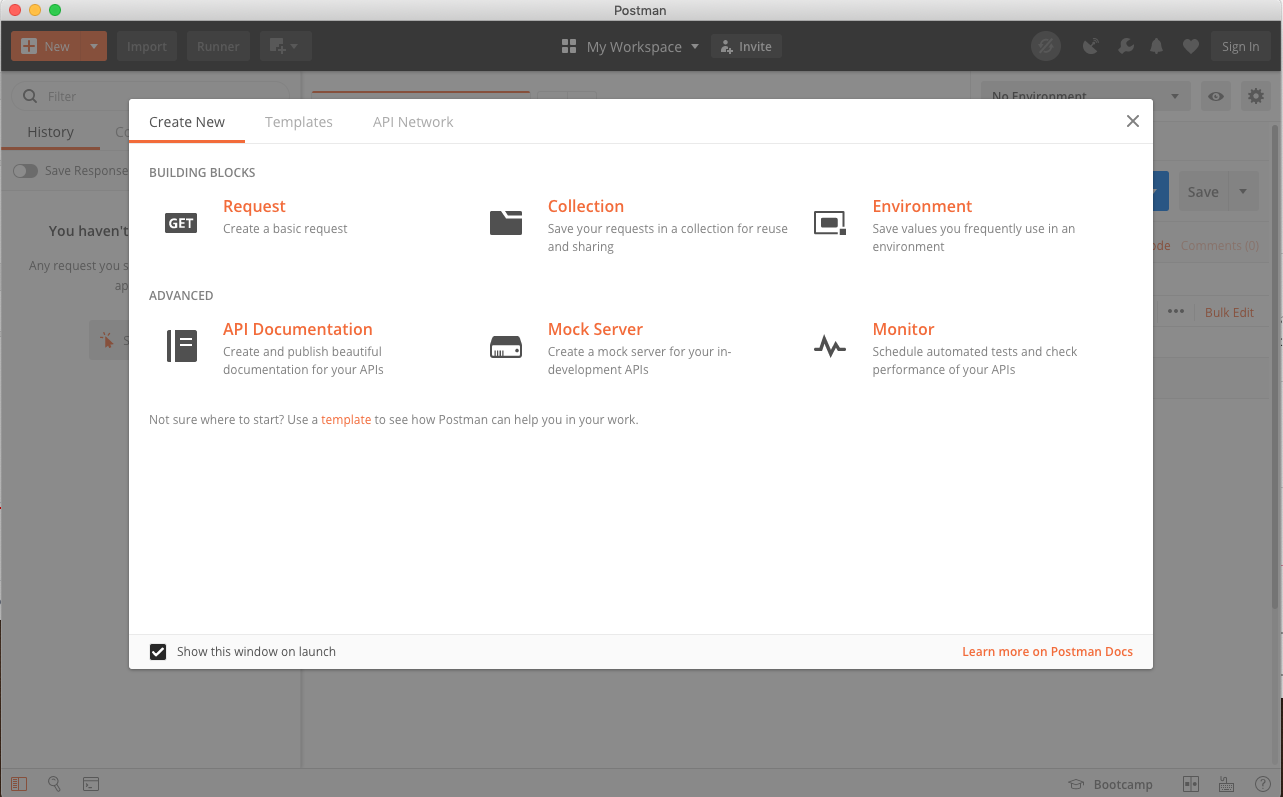
Uncheck "Show this window on launch" and close the modal dialog. To send JSON to our server, we'll be dealing with the right hand panel:
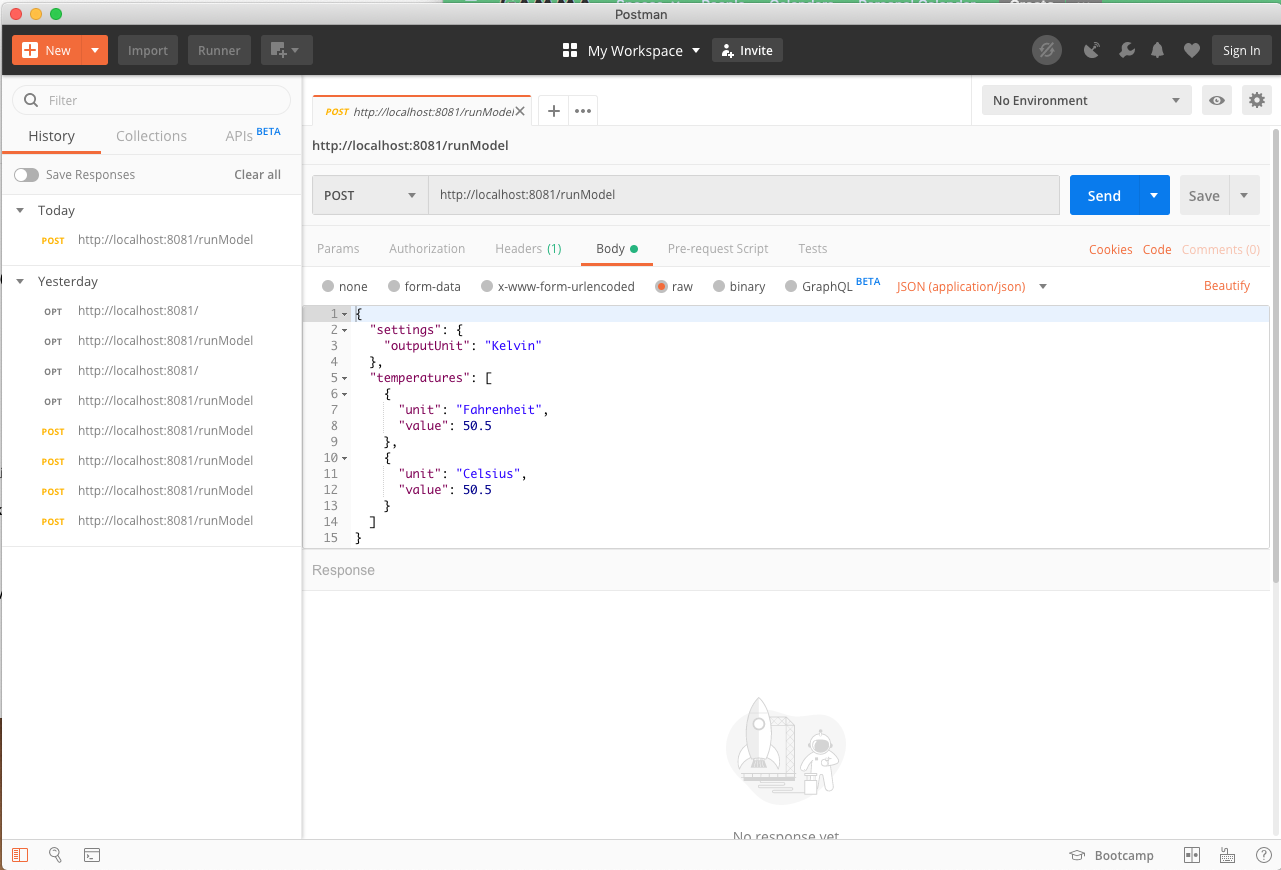
- Change the dropdown from GET to POST
- For the request URL, enter http://localhost:8081/runModel
- Activate the
Bodytab, and select the "raw" radio button. A dropdown menu will appear next to the radio buttons, withTextinitially selected. Change this toJSON (application/json). - In the text area field underneath the radio buttons, enter the following JSON:
{
  "settings":
  {
    "outputUnit": "Kelvin"
  },
  "temperatures":
  [
    {
      "unit": "Fahrenheit",
      "value": 50.5
    },
    {
      "unit": "Celsius",
      "value": 50.5
    }
  ]
}
- After executing these steps, the Postman window should look something like:
- Click on the big blue
Sendbutton. You should see the converted temperatures in the bottom panel. Congratulations, you have a working server!
Stop the server
To stop the server, we execute the opposite command to the docker-compose up that we did before:
docker-compose down
Deploy the server to Dais
Create a GitHub repository for the project and make sure the code for the template has been pushed.
Next, you need to create an personal access token so that Dais has sufficient access to your repositories to build them. Dais associates just one user token with your Dais login, so this is just a one-time process. Navigate to github and open your user settings:
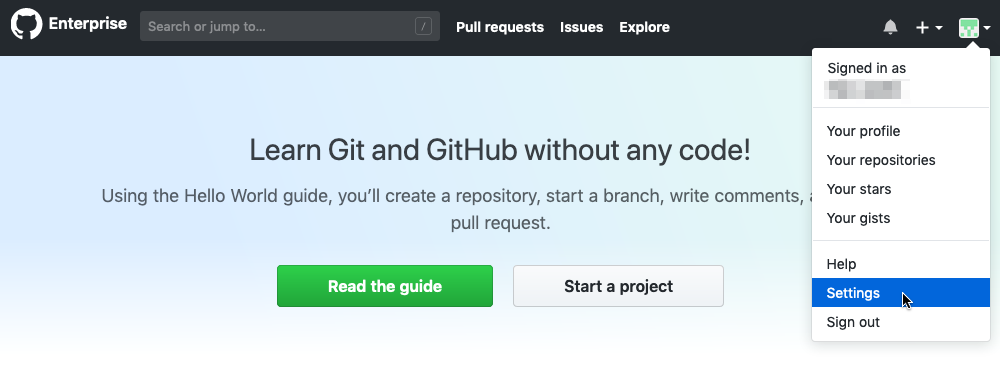
In the left hand panel, select Developer Settings, then Personal access tokens. Click on the Generate new token button, give the token a description and provide it with repo access.
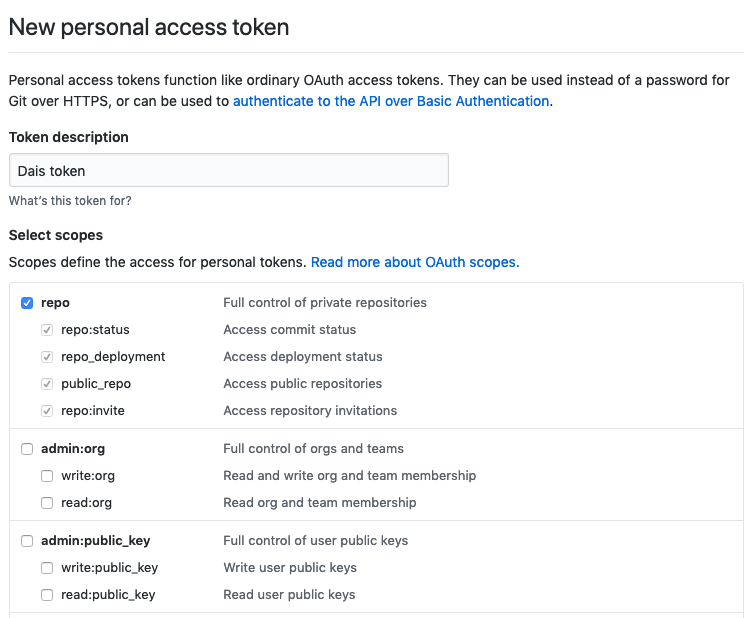
Click on the green Generate token button at the bottom of the page and save the personal access token somewhere safe, as we will be needing it soon.
Link the Dais app to the GitHub Repository
In order to build your backend project, Dais needs to know about the Git repository where your project lives and sufficient permissions to access it.
First, you will need to create a GitHub repository
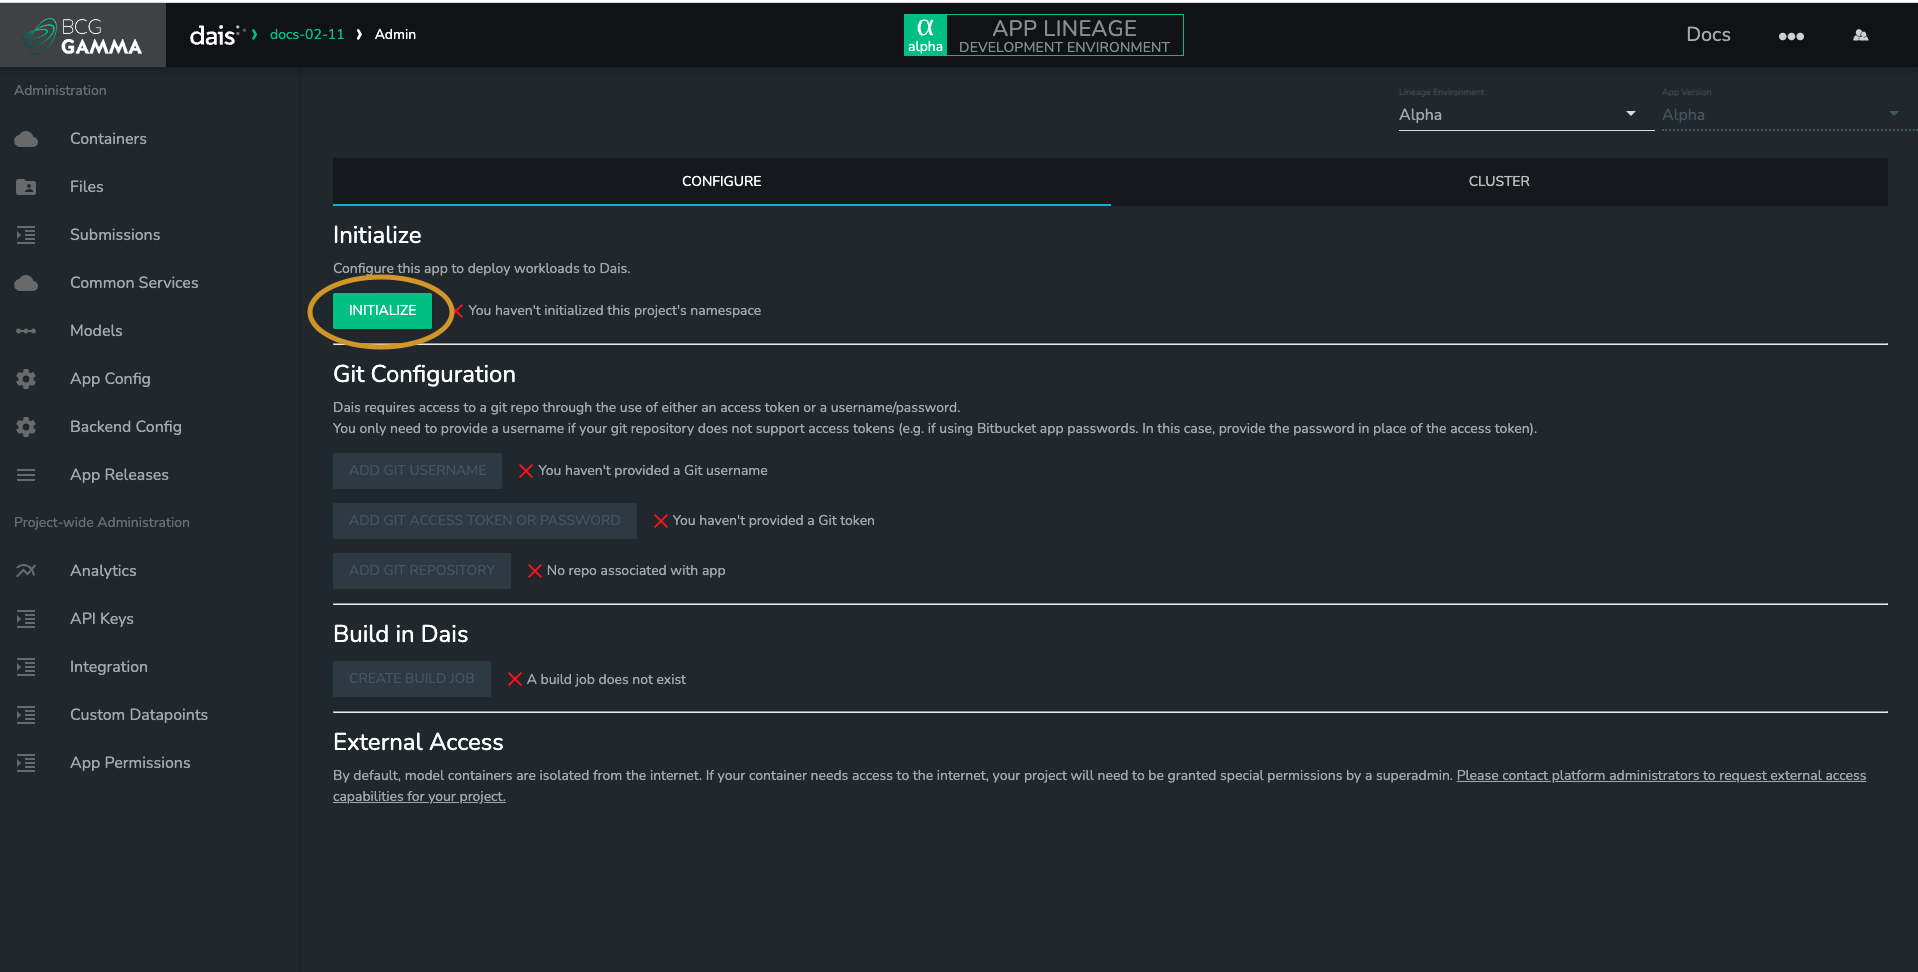
Navigate to your app, then go to App Administration -> Containers.
To work through this configuration page, you will need to:
- Click the
Initializebutton. - Associate your personal access token with this Dais project.
- Specify the GitHub repository that you created in previous section.
- Finally, you should be able to click on the
Create Build Jobbutton at the bottom.
Fire off builds and deploy
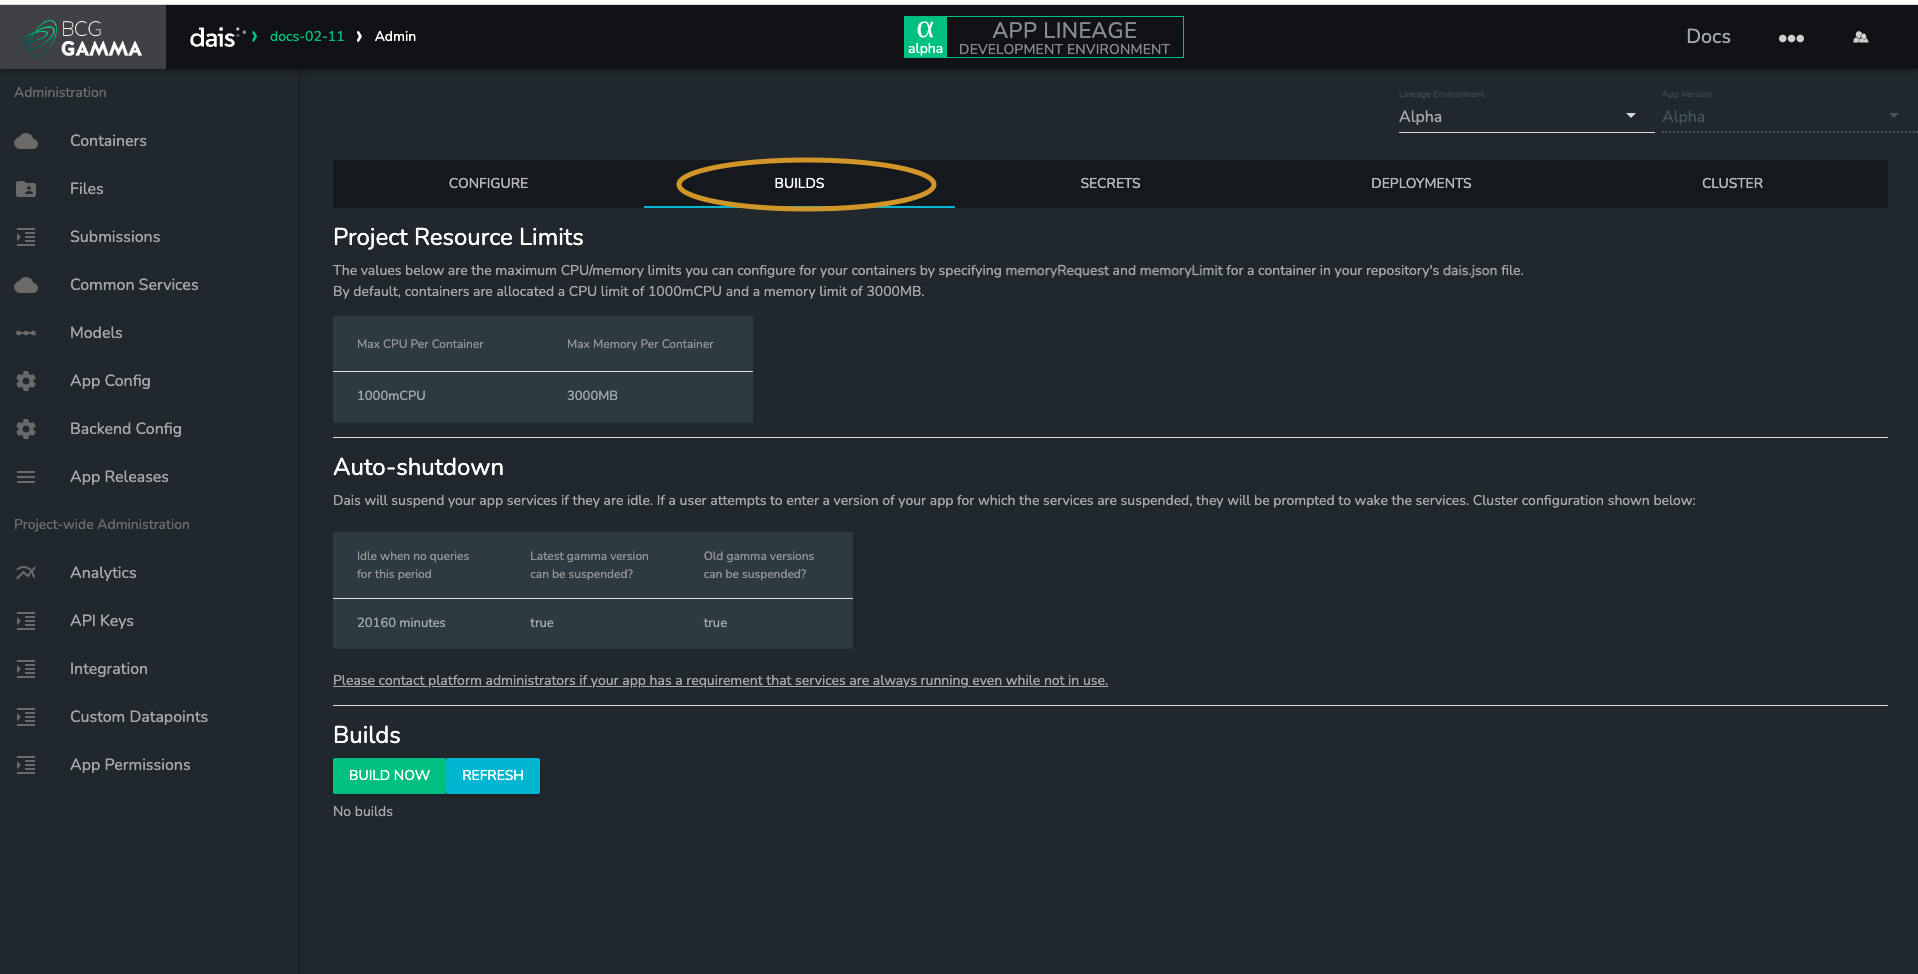
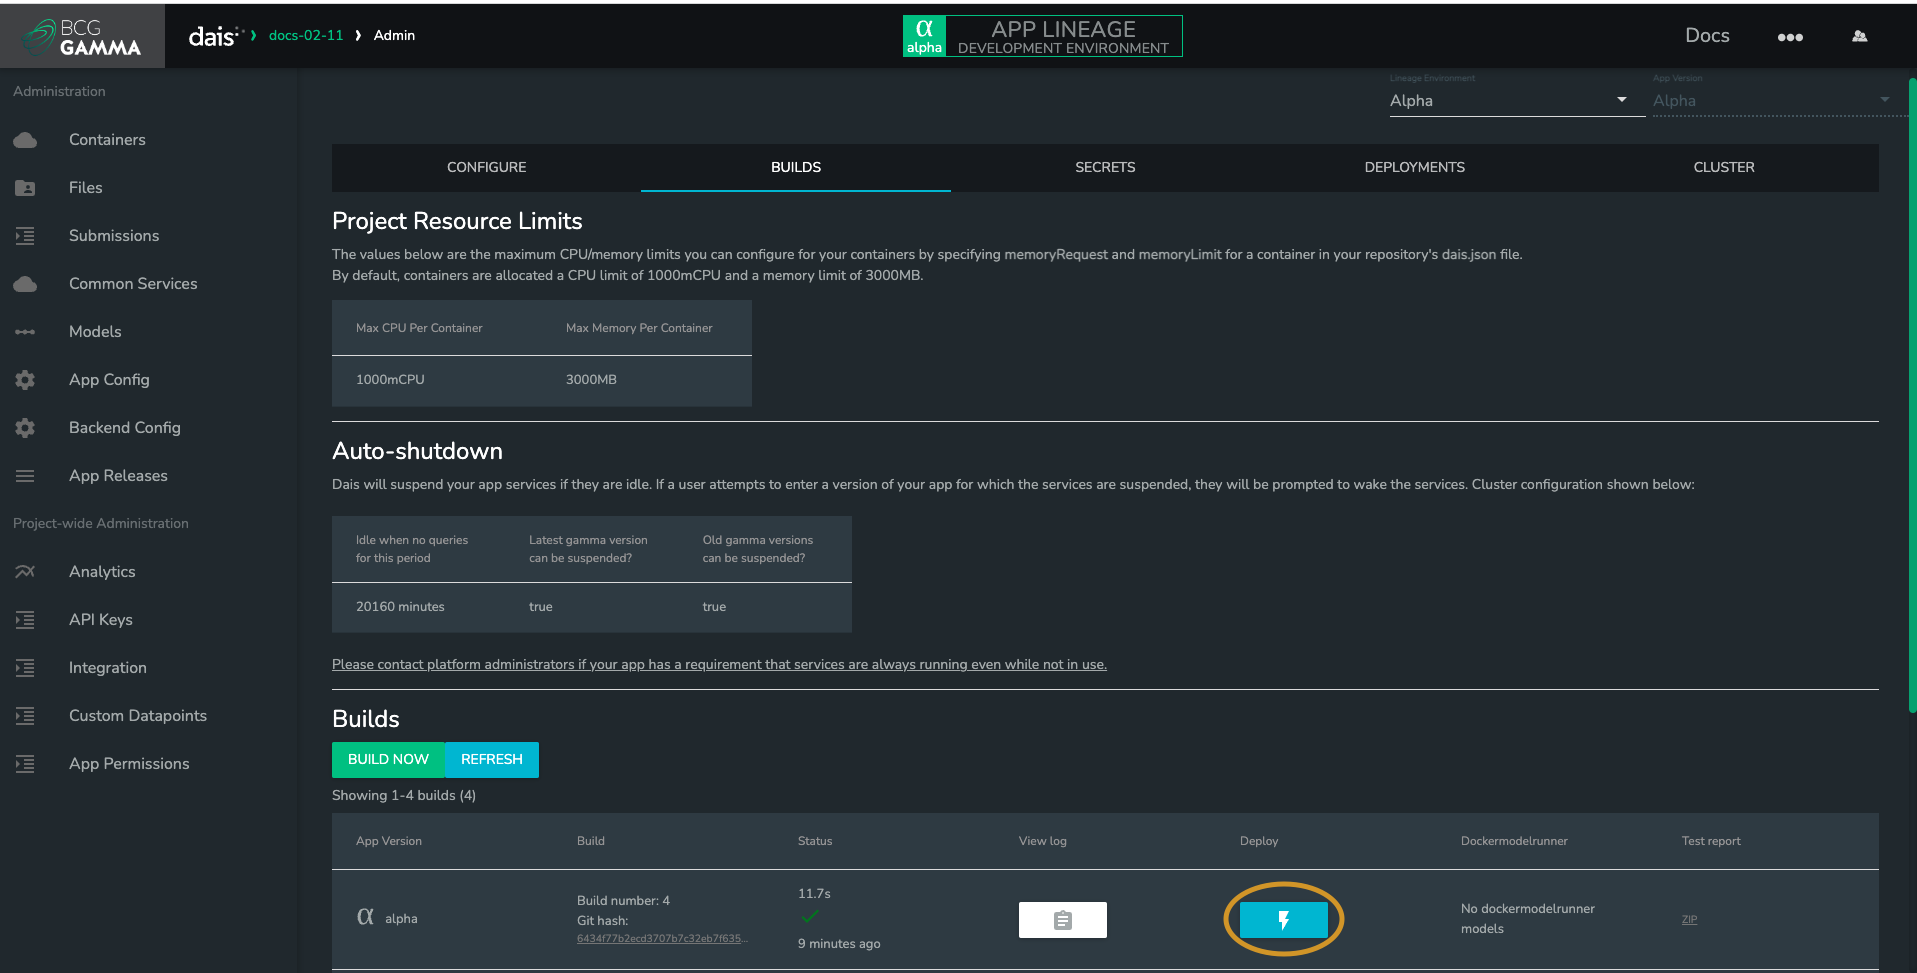
Go to the Builds tab. When you want Dais to build the latest commit on the nominated branch, hit the Build now button.
Once the build has finished, you can hit the Deploy button on the build to deploy it.
Check server status
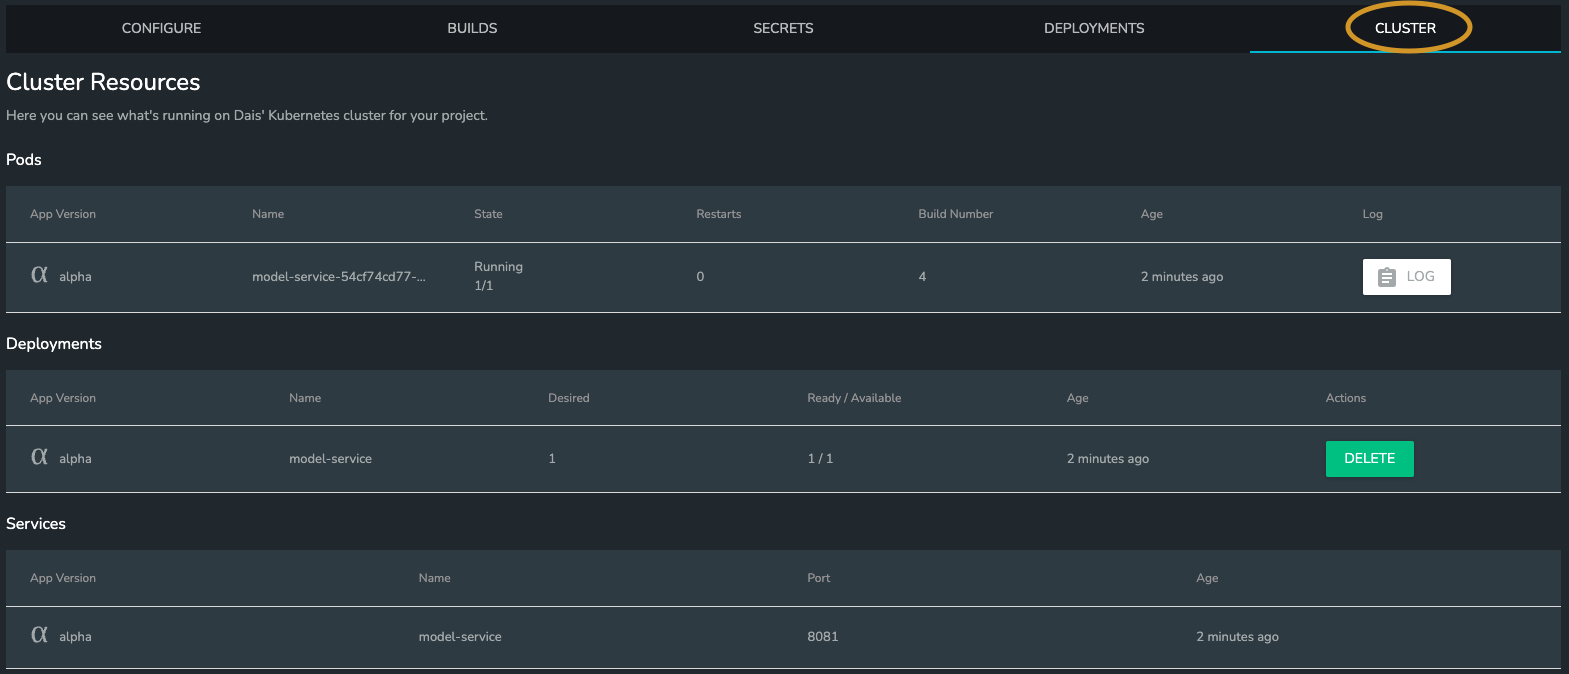
Under the Cluster tab you can see what you currently have deployed.
Each pod holds a single container. The pods are named after the id's specified in the dais.json file. You should see one pod for each container, per replica. You can view the console logs from each pod.